
Discover how custom signs improve visibility, branding, and first impressions while helping your business stand out. Contact Scenic City Signs today.
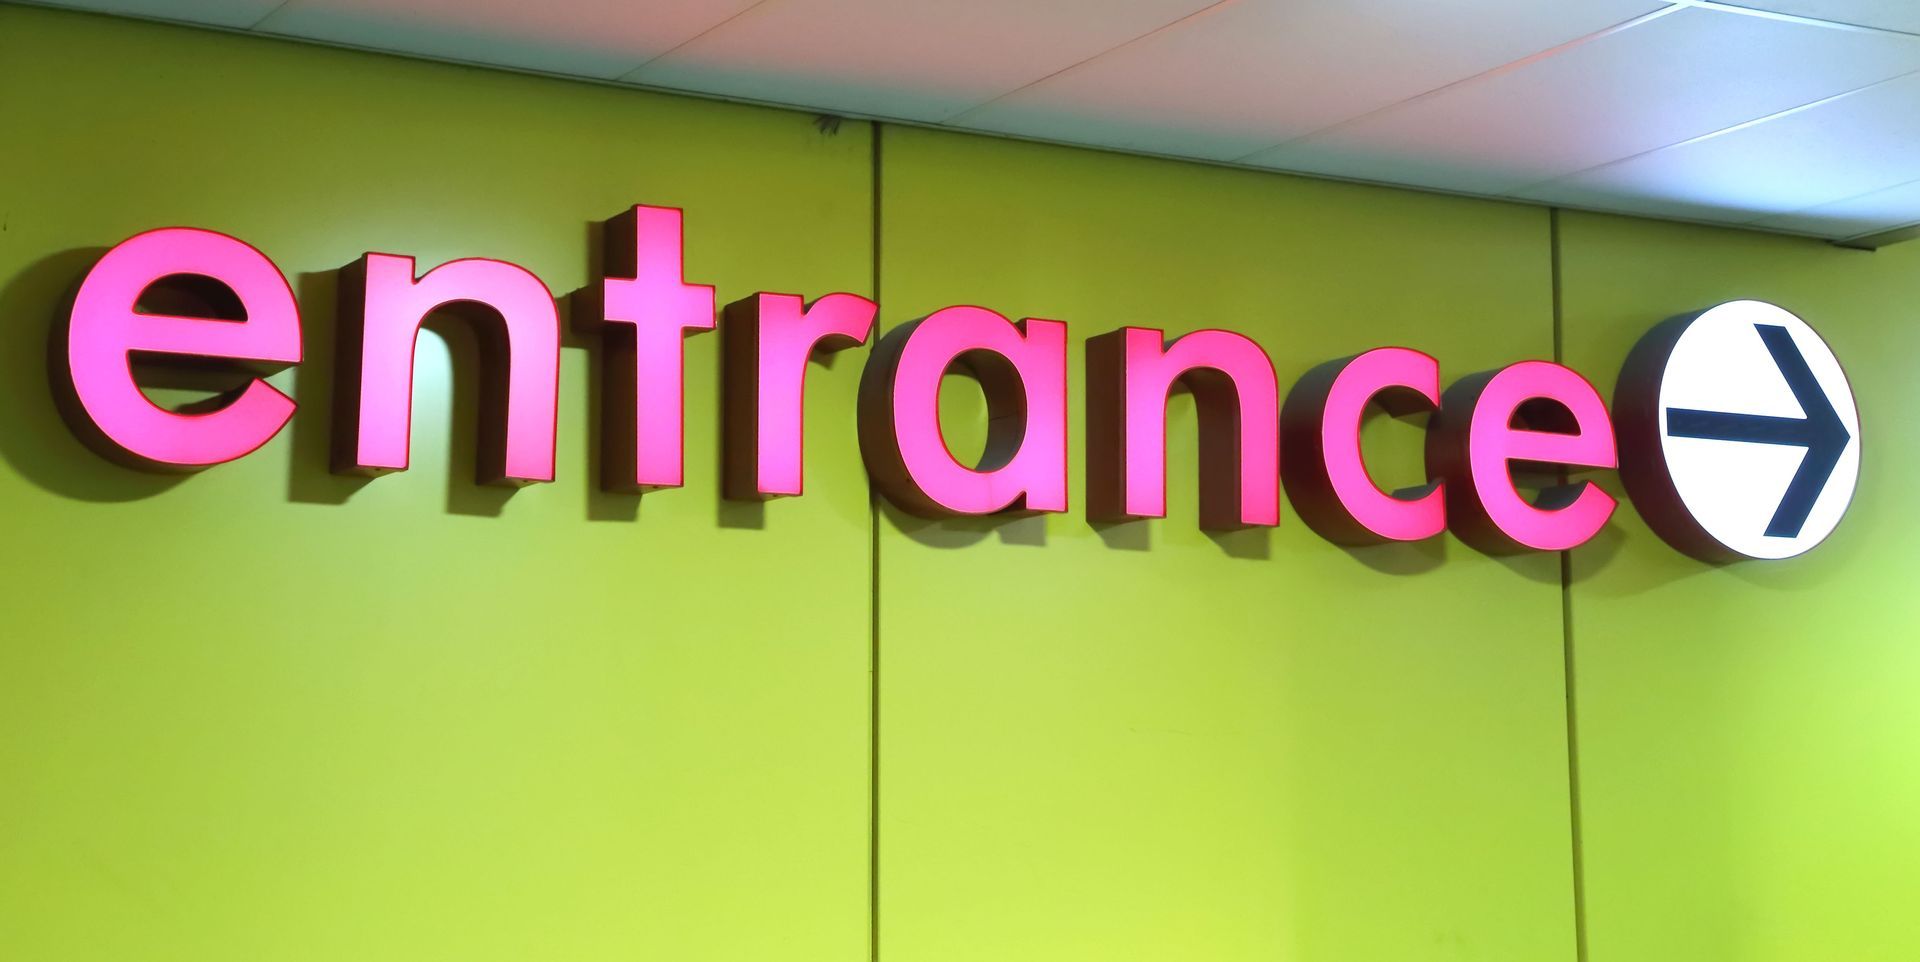
See how much of a difference a proper business sign can make. Consider these creative ideas for attracting new customers to your business.
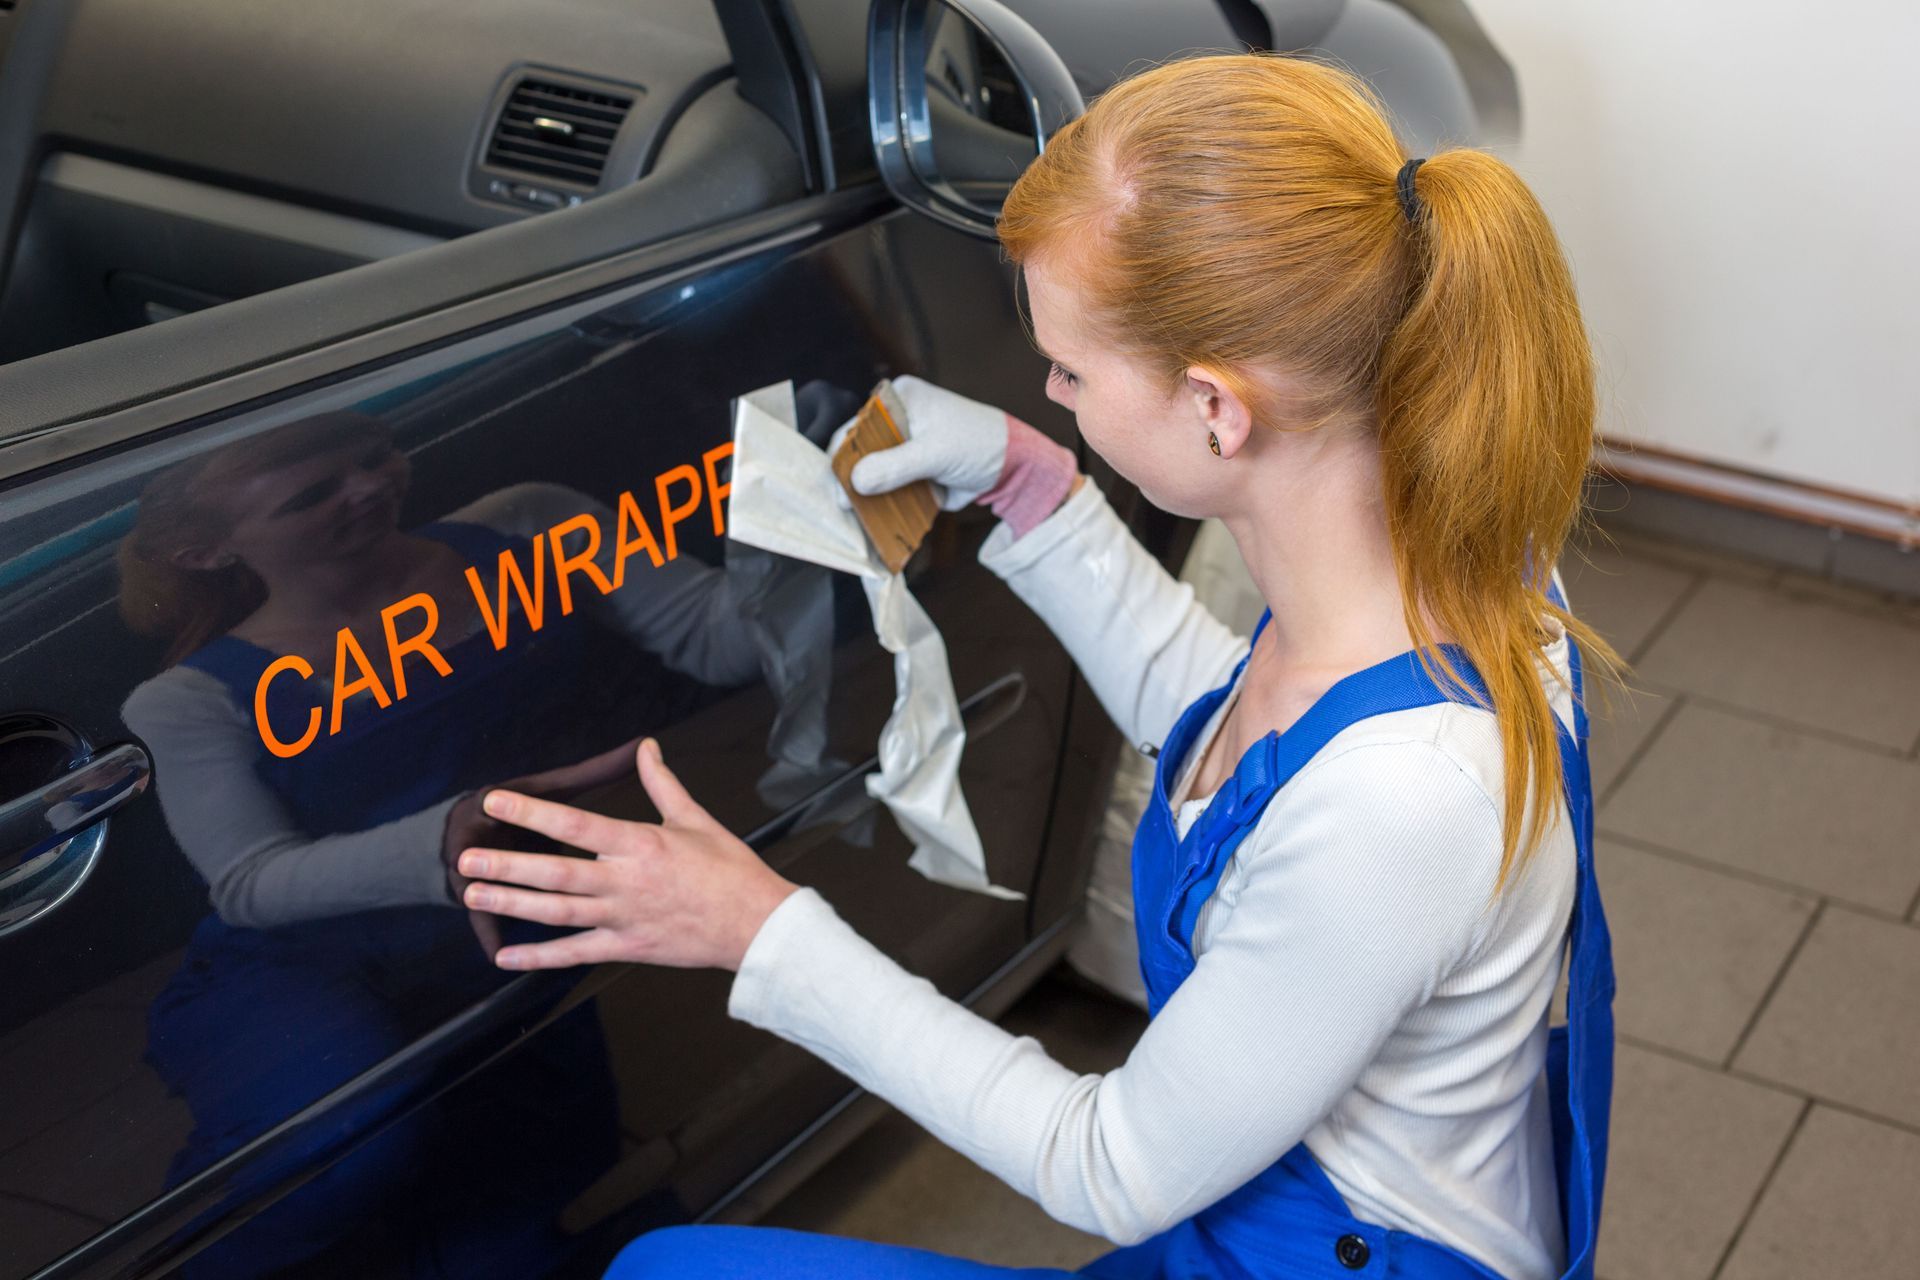
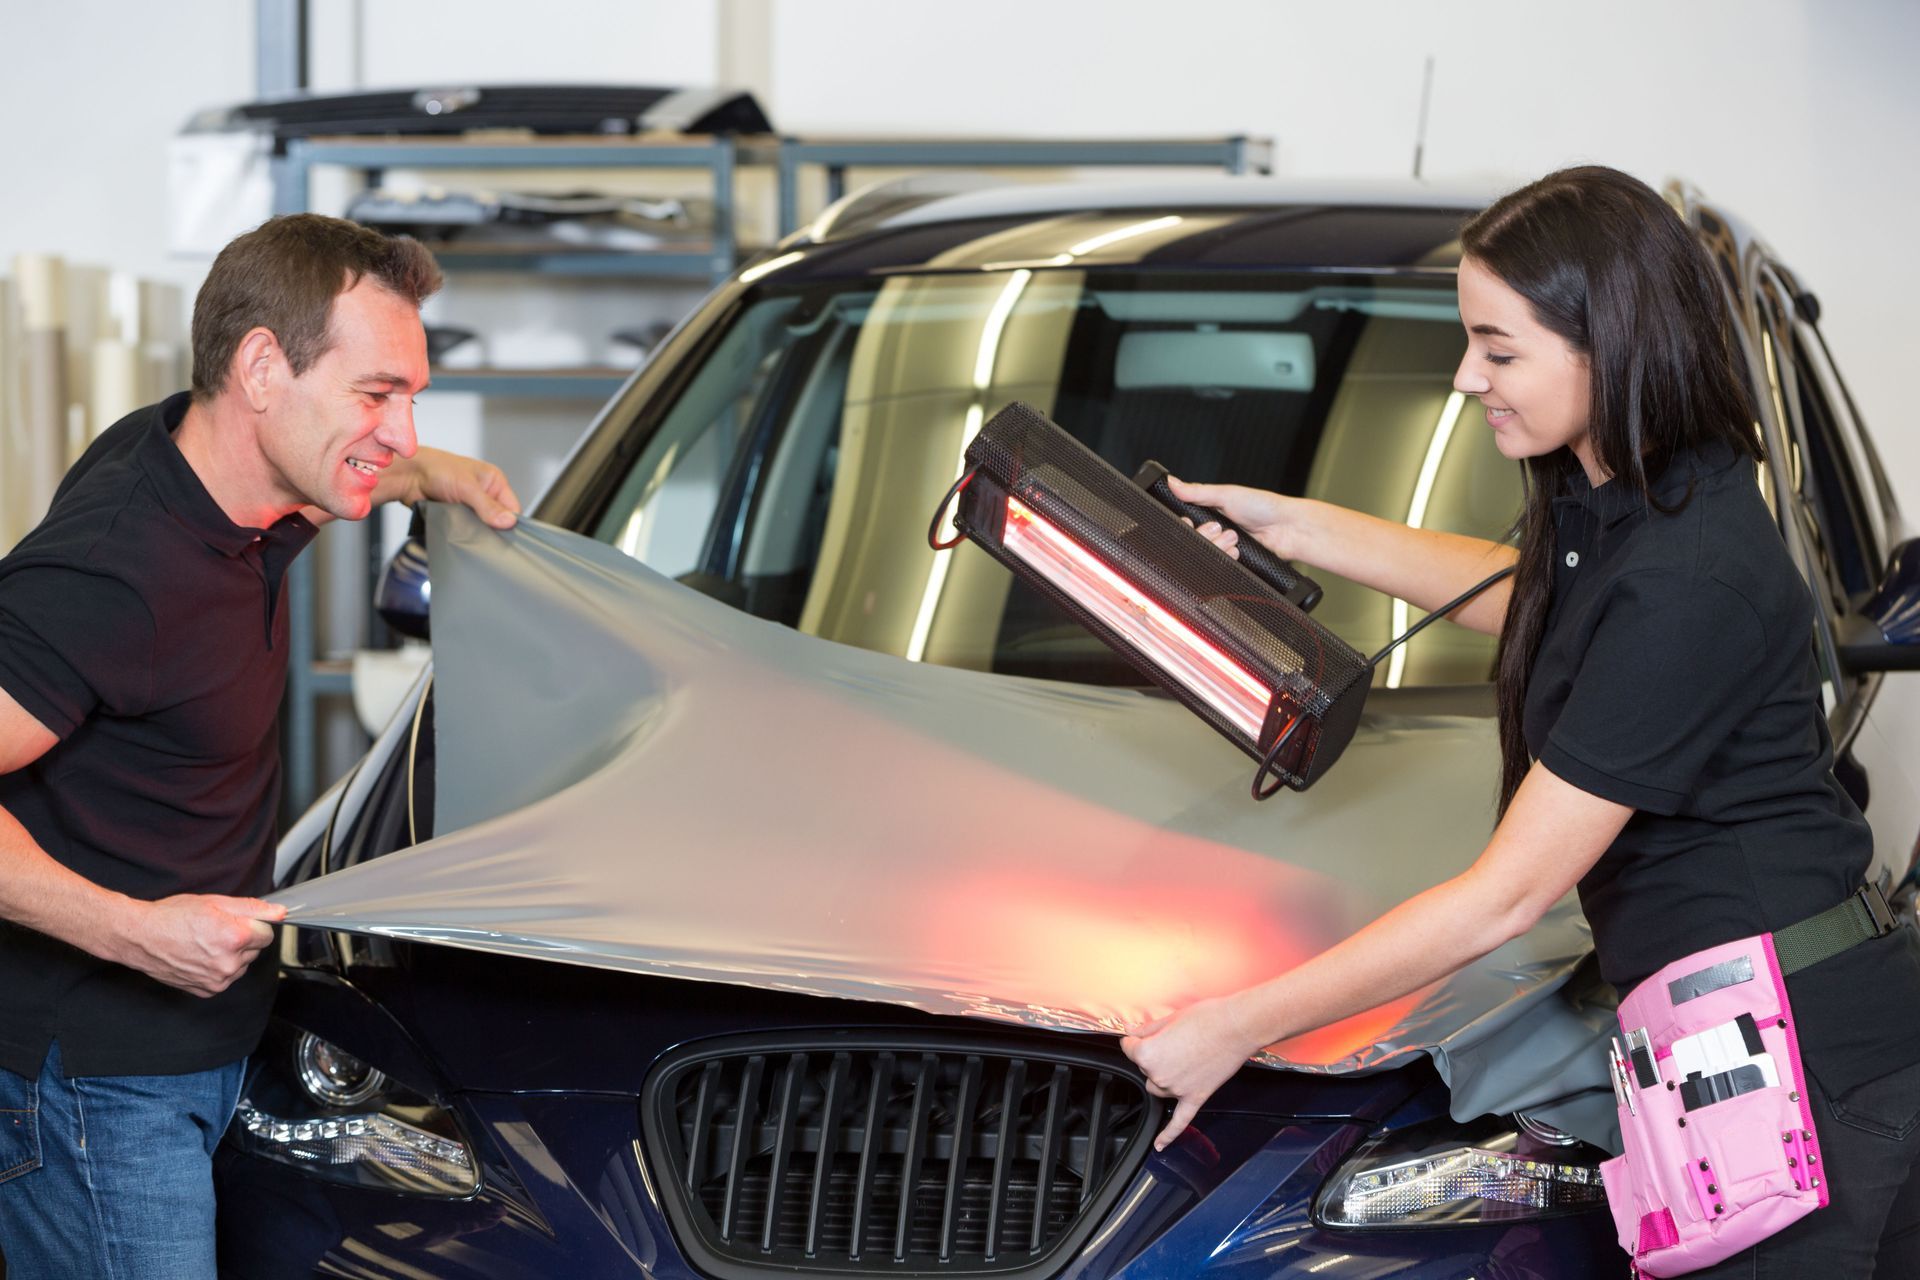
Vehicle graphics provide the versatility and impact needed for your business or brand to stand out on the road. Keep reading to learn if they're right for you!
Boost your brand visibility and make a lasting impression with custom vehicle graphics—a smart investment for any business on the move.
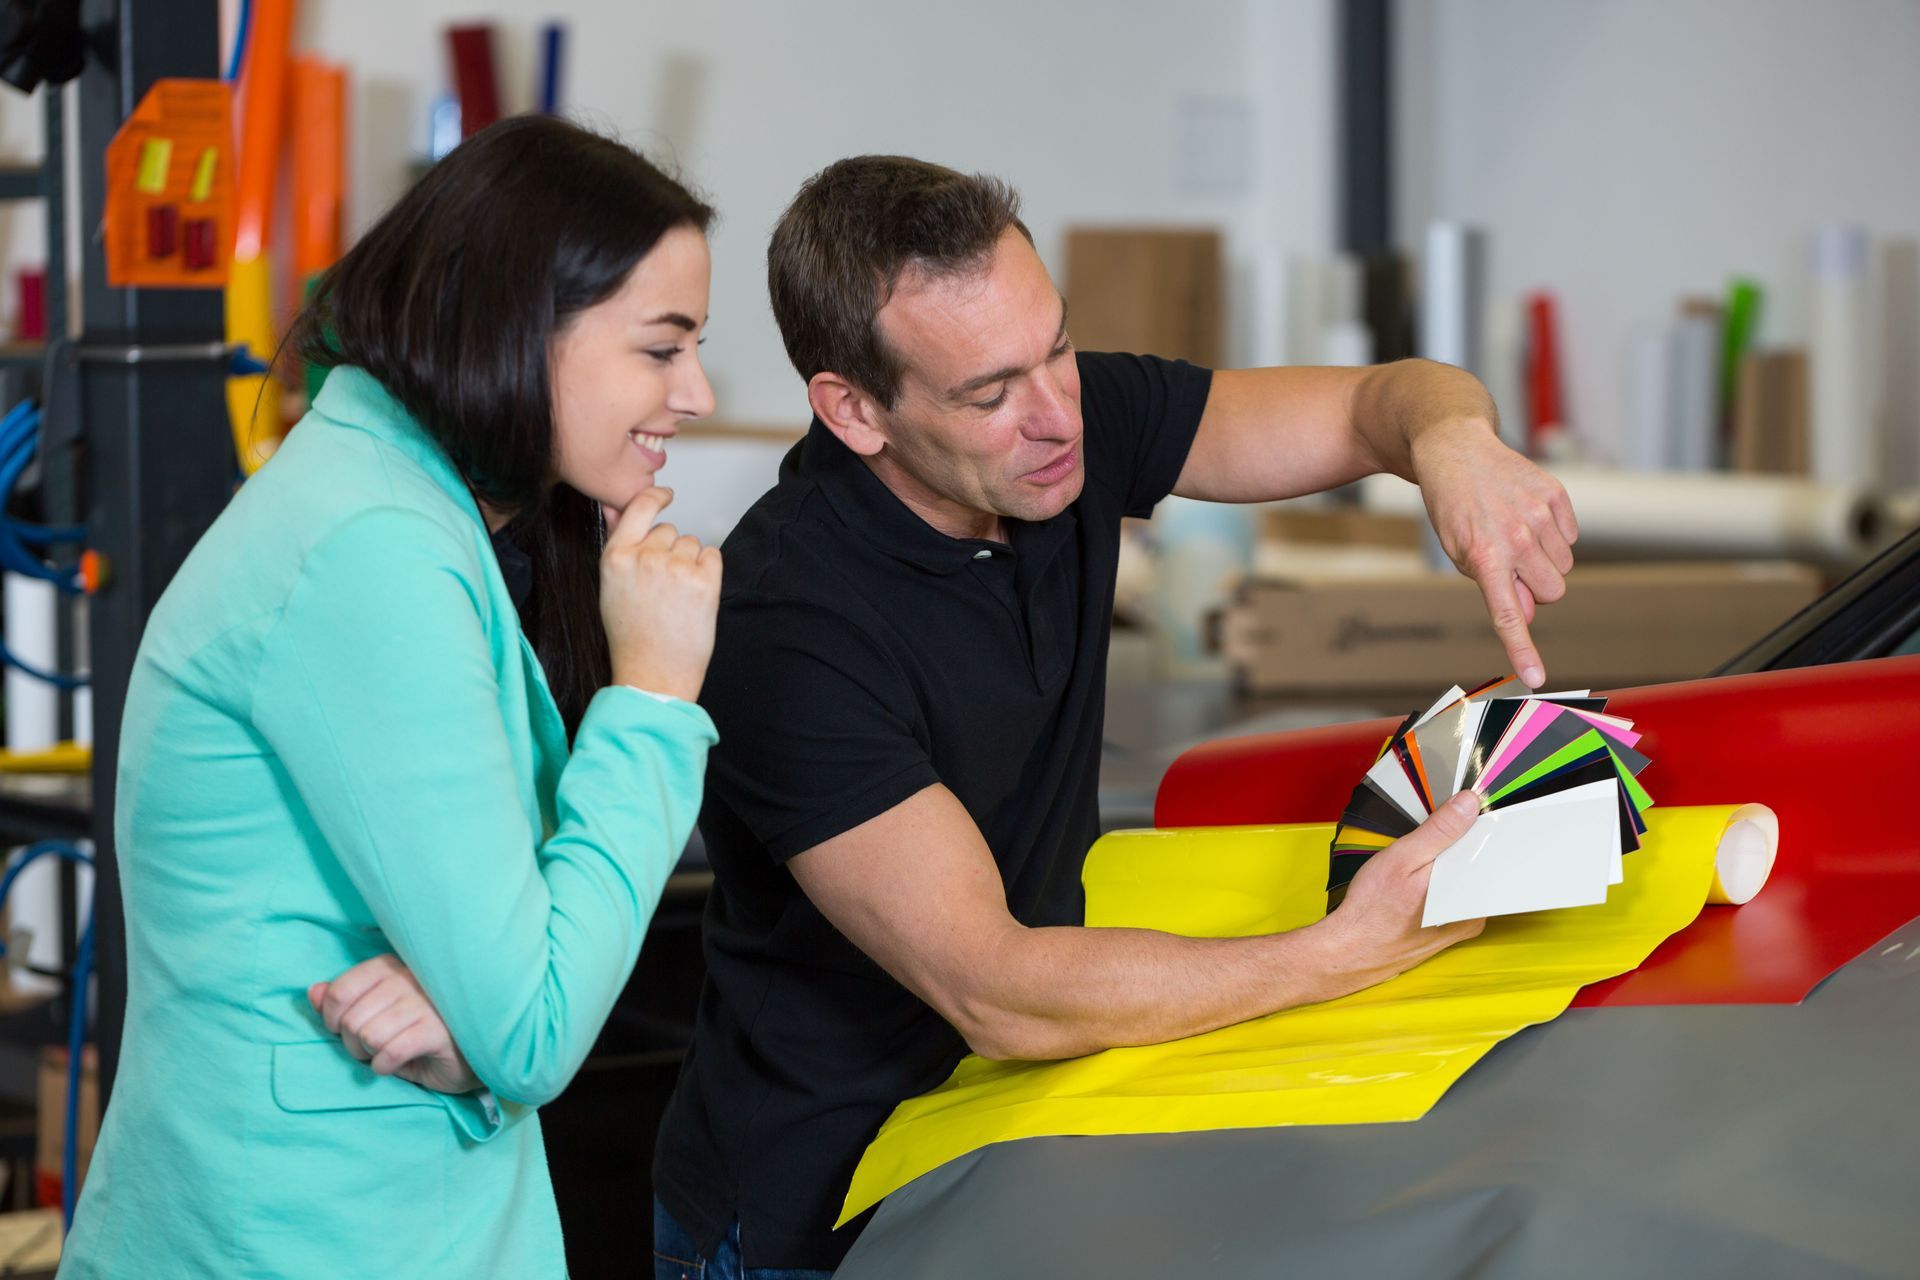
Considering custom vehicle graphics? To learn how they can benefit your business, read on or contact the team at Scenic City Signs today!